How To Whitewash Wooden Floors?
How To Whitewash Wooden Floors?
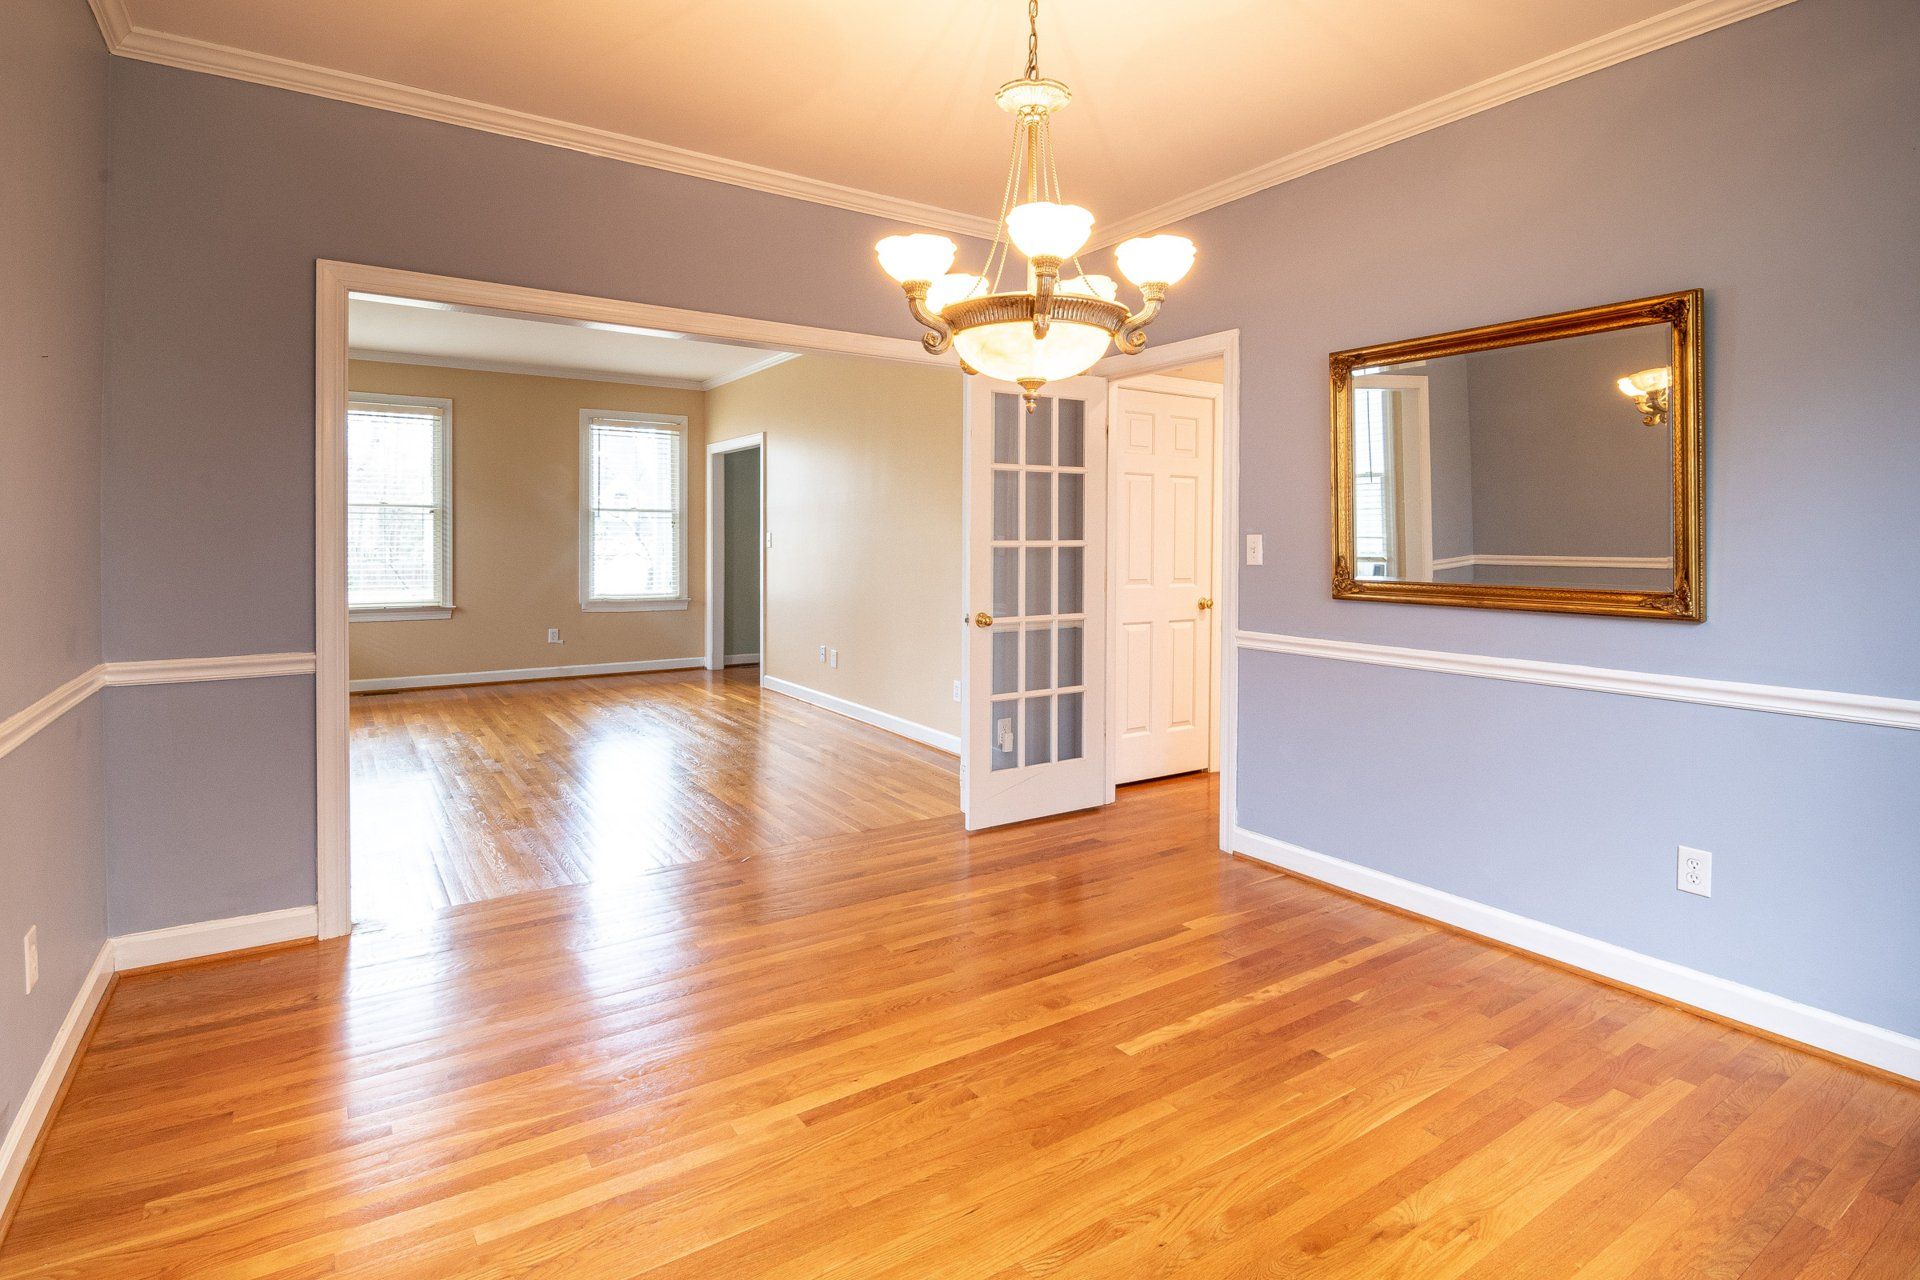
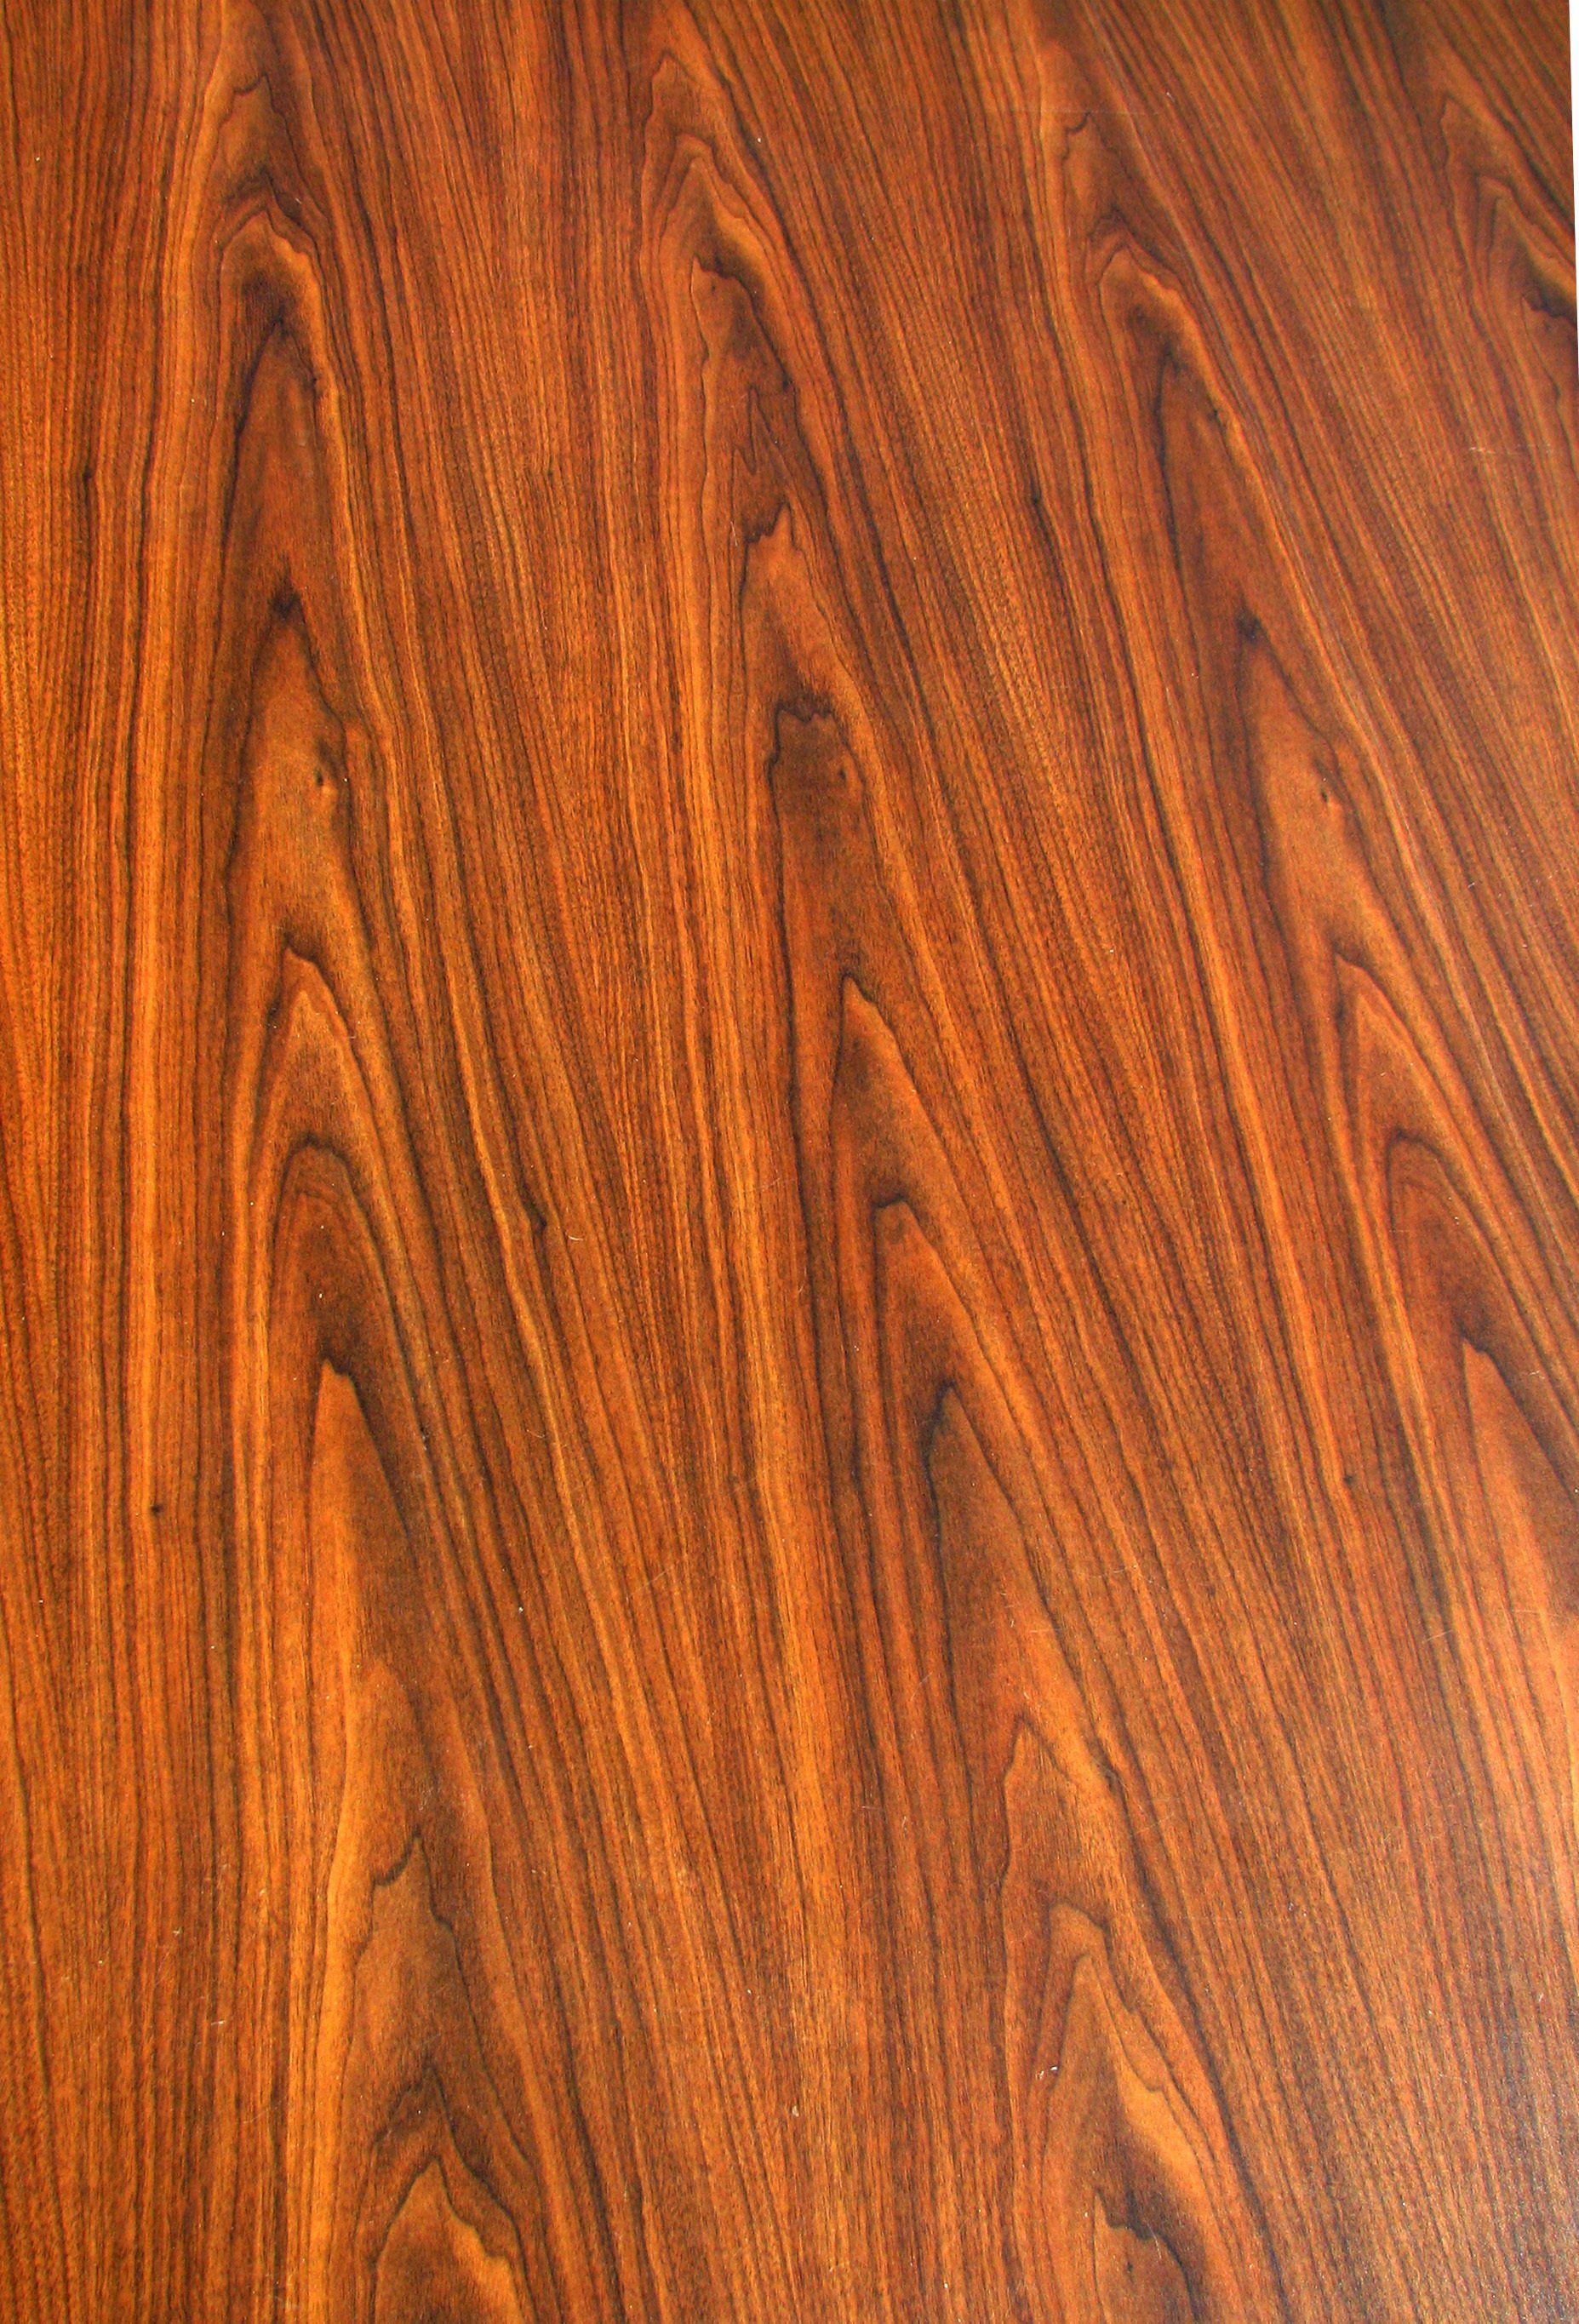
A look that is often associated with Scandinavian fashion, the use of whitewashing provides a modern appearance, while also accentuating the beautiful natural characteristics of the wood grain. The most appealing aspect of it is that unlike painting your floor, which will reveal wear and tear over time, whitewashing requires more low maintenance.
While it is traditionally done using lime or bleach for wood, which can be very harsh (please avoid that!), tinted oils for wood are an easier alternative, providing nourishment and protection to the wood in the same way. These waxes and oils are eco-friendly, meaning that there are fewer chemicals that cause harm and the wood will be able to breathe. In high-traffic areas, it is able to withstand wear and tear, is waterproof, and is easy to wash. It is also great for wood flooring. A little is a lot.
Before You Start - Prepare The Floor.
It is important to prepare the floor prior to staining it. This involves taking off any previous treatments with the use of a powerful sander, replacing broken or damaged boards, and filling any gaps.
The next step is to clean the floor. Vacuum out any dust or debris first. You don't want to work on the flooring. Clean and dry the floor a few times until the dirt or marks have been removed.
Step One - Applying The Wood Wax Finish
Wear protective gloves and pour a bit of the Wood Wax Finish into a pot to make it easier to access. Use the wax finish in a thin layer along with the grain of the wood using your cloth or brush, and work it into cracks or knots. Be aware that a small amount goes far. Take 20 minutes to soak in time before using a clean, lint-free piece of fabric to rub off the excess wax until you're pleased with the appearance.
It is recommended to lay the floor in sections, so you can have a secure place to sit down during this process, or else you'll fall on the floor while it's still wet. This might mean you leave an open space to get out while waiting for the remaining part of your floor to dry before you begin the rest.
TOP TIP: Because certain floor waxes turn yellow over time, we recommend applying a white tint as a final coat on top of the wax finish.
Step Two - Apply The Polyx Oil Tint Top Coat
After the floor is dry, make sure you're satisfied with the color. If you feel that it needs to be a bit lighter you can repeat the step. After that, put on the polyx oil tint that will help protect your base coat from damage and keep it from turning yellow over time. Decant a small amount of the tint to a pot and apply the same method as you did in the first step using either using a soft brush or a clean, lint-free cloth.
This is the point where you are able to either cover the entire floor and work your way back to the door (don't make yourself look like a fool!) and allow it to completely dry, or do it again in sections and remove the excess. The Polyx-Oil Tint has a translucent white, which adds only a tiny amount to the final color, with the appearance of a slight sheen. We didn't want to get rid of any excess because we were satisfied with the final result and left it to be dry following the application of a light coat.